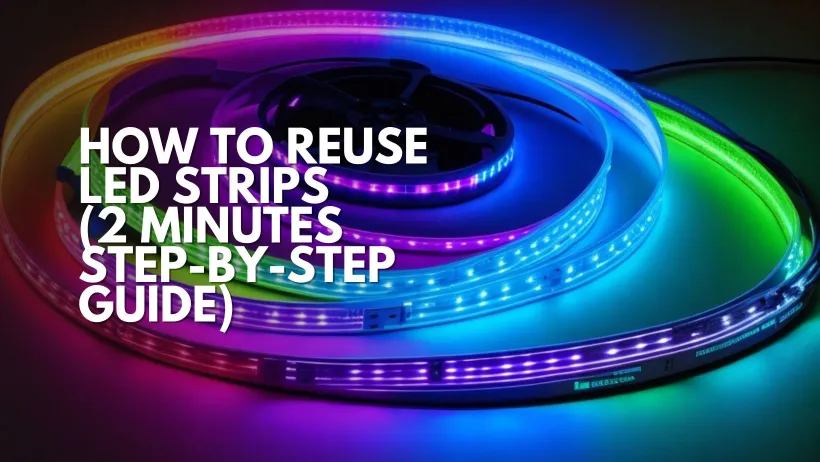
So, you’ve got a bunch of LED strips lying around, and you’re wondering how to give them a new lease on life? Well, you’re in luck! In this step-by-step guide, we’ll walk you through the process of How to Reuse LED strips with a dash of expertise.
Can you Reuse LED Lights strips

Yes, absolutely you can reuse LED light strips! These modern lighting solutions are designed to be flexible, both in terms of their application and installation. When it comes to removing and reinstalling them in a different location or setting, it’s not only possible but also relatively straightforward.
Speaking from personal experience, I’ve had the opportunity to repurpose LED light strips in my own home. When we decided to revamp our living room, I was hesitant about investing in new strips. After a bit of research, I realized that the ones we already had could be reused with just a bit of careful handling.
Read More: 5 Easy Steps on how to remove led lights without peeling paint
Step-by-Step How to Reuse LED Strips (8Steps)

Step 1: Gather Your Supplies
Before we embark on this LED adventure, let’s make sure we have everything we need:
LED Strips: The stars of the show, of course!
Power Supply: Ensure it’s compatible with your LED strips.
Controller (Optional): If you want to add some dynamic lighting effects.
Wire Strippers: For any necessary adjustments.
Soldering Iron and Solder: In case some connections need a little TLC.
Connectors (Optional): Handy for extending or linking strips.
Scissors or Cutting Tool: For trimming strips to your desired length.
Double-Sided Tape or Clips: To secure the strips in place.
Step 2: Plan Your Design
Before diving in, take a moment to envision where you want your LED strips to go. Are they going to light up your shelves? Or perhaps add some flair to your desk? This is your time to let creativity run wild.
Step 3: Test the LED Strips
Plug in your LED strips and power supply. This will help you ensure they’re still in working order before you commit to a final setup.
Step 4: Measure and Cut
Once you have a clear vision, measure the area where you want to place the LED strips. Carefully cut the strips along the designated cut lines, if necessary.
Step 5: Connect the Wires (If Needed)
If you’re using multiple strips or need to extend them, it’s time to whip out those soldering skills. Connect the wires according to the manufacturer’s instructions.
Step 6: Install the LED Strips
Peel off the backing on the strips to reveal the adhesive side. Carefully apply them to your chosen surface. Make sure it’s clean and dry for maximum stickiness!
Step 7: Connect the Controller (Optional)
If you want to take your lighting game to the next level, now’s the time to add a controller. This nifty device allows you to change colors, brightness, and even create dynamic lighting effects.
Step 8: Power Up!
Connect your LED strips to the power supply and flip the switch. Voila! You’ve just breathed new life into those old LED strips.
Read More: Is it Safe to Cover LED Lights? 10 Tips and Reasons
How to Store used LED Strip Lights

1. Assemble the Tools
Before we dive in, let’s assemble the necessary tools:
Plastic bags or anti-static pouches: To protect the strips from dust and moisture.
Cardboard or PVC pipe: For a sturdy foundation to wrap the strips around.
Labels and markers: Keep track of where each strip was previously installed.
A sealed container: To house all your neatly packed LED strips.
2. Remove and Clean
Begin by gently detaching the LED strips from their current location. Take your time, and be sure to unplug them safely. Once removed, wipe them down with a soft, dry cloth to remove any accumulated dust or debris.
Expert Tip: If your LED strips have adhesive backing, wrap them in plastic wrap before storing to prevent adhesive residue from sticking to other items.
3. Roll and Wrap
Find a suitable surface to roll your LED strips around. A piece of cardboard or a PVC pipe will do the trick. Secure the strip at one end and wrap it around evenly, making sure not to twist or kink the strip.
Experience Factor: I’ve found that gently tucking the end of the strip under itself helps prevent it from unravelling during storage. It’s a small trick that goes a long way!
4. Labeling Magic
Now, grab those labels and markers. Clearly mark each wrapped strip with information about its previous location or any other relevant details. This step will save you loads of time and headache when you decide to use them again.
5. Bag ‘Em Up
Slide each wrapped strip into a plastic bag or an anti-static pouch. This extra layer of protection will keep your LED strips safe from dust, moisture, and any potential static electricity.
6. Containerize
Find a sealed container large enough to accommodate all your wrapped and labeled LED strips. Place them gently inside, making sure they’re snug but not squished. Seal the container tightly to keep out any unwanted elements.
How to Make LED Lights Sticky Again

Step 1: Get ‘Em Clean
Start by making sure the surface where you want to stick your LED lights is squeaky clean. Grab a damp cloth and give it a good wipe to get rid of any dust, dirt, or leftover gunk.
Step 2: Say Goodbye to Residue
If you spot any stubborn old adhesive or stickiness on your LED lights or the surface, don’t fret. Dab a bit of rubbing alcohol or an adhesive remover on a cloth and gently rub away the icky stuff. Let it dry completely.
Step 3: Double-Sided Tape Magic
If your LED lights have lost their stickiness mojo, double-sided tape is your trusty sidekick. Cut some strips of double-sided tape, stick ’em on the back of your lights, and press those babies onto the clean surface. Firmly!
Step 4: Fresh Adhesive Strip
If your LED lights had adhesive backing when you got them, it’s time for a refresh. Grab a new adhesive strip that suits your surface type, peel it off, and stick it on your lights. Press it down securely.
Step 5: Mounting Putty or Adhesive Squares
For a temporary bond that won’t leave a mark, try out mounting putty or adhesive squares. Mold a small piece of putty or use adhesive squares on the back of your lights, then stick ’em where you want. Easy peasy!
Step 6: Command Strips or Hooks
Command strips and hooks are super friendly and removable. Apply them following the instructions, hang your LED lights, and if you ever decide to change things up, they’ll come off without a hitch.
Step 7: Silicone Adhesive (for the long-term lovers)
If you’re in it for the long haul and want a rock-solid bond, go for silicone adhesive. Spread a thin layer on your lights’ back, press them onto the surface, and know that they’re in it for life. Well, at least until you decide otherwise!
Step 8: Clips and Holders
Lastly, if clips or holders are an option for your LED lights, use ’em! They’re designed for the job and make life easy.
Read More: 10 Best Tips on how to Change LED Light Colors Without Remote (2023)
Conclusion
And there you have it, a straightforward guide how to reuse LED strips. With a little creativity, some basic tools, you can transform any space with these versatile lights. So, go ahead, let your imagination shine!
FAQ- How to Reuse LED Strips
Can LED strips be reused?
Yes, LED strips can be reused with some care and proper handling.
What steps should I take to remove LED strips without damaging them?
To remove LED strips, gently peel them off, starting from one end. Use a plastic tool like a credit card to avoid scratching or damaging the surface. Avoid pulling or yanking the strip, as this can lead to breakage.
Can I cut and re-solder LED strips to fit a different length or shape?
Yes, you can cut LED strips at designated cutting points. Make sure to use sharp, non-serrated scissors. To reconnect, solder wires to the designated contact points, ensuring a secure connection.
Are there any precautions I should take when reusing LED strips?
Avoid excessive bending or twisting, as this can damage the LED chips or solder joints. Always follow the manufacturer’s guidelines for voltage and power requirements.
Can I use a different power supply with reused LED strips?
It’s essential to match the power supply specifications (voltage, current, and wattage) to the requirements of the LED strip. Using an incompatible power supply can damage the LEDs or create a safety hazard.
Can I change the color or intensity of reused LED strips?
Depending on the type of LED strip, you may be able to adjust colors and intensity using a compatible controller. Refer to the manufacturer’s instructions for specific details and follow the Steps Accordingly.


3 thoughts on “How to Reuse LED Strips (8 Easy Steps)”