Illuminate your space with confidence as we unveil a comprehensive guide on How to Fix a Broken LED Light Strip. From checking the power supply to performing delicate light surgery, our expert-LED steps ensure a seamless restoration process. Learn how to identify and address issues with precision, all while maximizing the longevity of your LED strips.
With this insightful guide, you’ll master the art of LED light strip revival, infusing brilliance back into your living spaces. Say goodbye to dim corners and welcome a radiant transformation.
How To Fix a Broken LED Light Strips Step-by-step Guide

1.Checking the Power Supply: Let’s Get Started!
Before we dive into the nitty-gritty of fixing your LED light strip, let’s make sure the power supply is all good to go. Double-check if it’s securely plugged in and doing its job. Sometimes, a little wiggle or a loose plug is all it takes to get things shining bright again!
2. Giving the Connection a Once-Over: Let’s Connect the Dots!
Now, let’s take a peek at the connection between the power supply and the LED strip. It’s like making sure your phone is properly plugged into the charger. A snug and secure connection is the key to a happy strip of lights. If it’s feeling a bit loose, let’s snug it up!
3. Hunting for a Blown Fuse: Time to Play Detective!
Some LED strips come with a nifty fuse. It’s like a little superhero that protects your lights. If your strip has one, give it a quick check. A blown fuse can be the sneaky culprit behind the light show going dark.
4. Spotting the Problem Area: Where’s the Boo-Boo?
Alrighty, unplug that LED strip and let’s play detective! We’re on the lookout for the exact spot that’s causing the hiccup. Precision is the name of the game here, so let’s pinpoint that troublemaker.
5. Gentle Light Surgery: Let’s Free those LEDs!
If it’s doable, gently remove the lights from the problematic section. Think of it like a little light surgery. A careful snip with scissors or a swipe with a blade should do the trick. Just be sure not to ruffle the feathers of the neighboring LEDs!
6. Trimming the Troubled Territory: Time for a Trim!
Grab those scissors and follow the copper markings. We’re giving that damaged section a little trim. It’s like getting rid of the dead ends at the salon. We want a clean break!
7. Adding a Fresh Face: Time for a Makeover!
Now, let’s bring in a fresh section from a spare or new roll of the same LED strip. It’s like giving your lights a makeover! Make sure it’s a perfect match in terms of specifications. This new addition will blend right in with the old crew.
8. Connecting with Pin Connectors: Let’s Link Up!
Finally, grab those pin connectors and let’s link things up. Attach them to each end of the new section and make sure they’re snug as a bug when connecting to the remaining strip. This step ensures a solid electrical connection for a harmonious light display.
With these friendly steps, you’ll have your LED light strip shining bright in no time! Remember, a little TLC goes a long way in fixing things up.
Read More: Can you Re-Stick LED lights | 9 Easy Steps
What are some common issues with LED light strips?
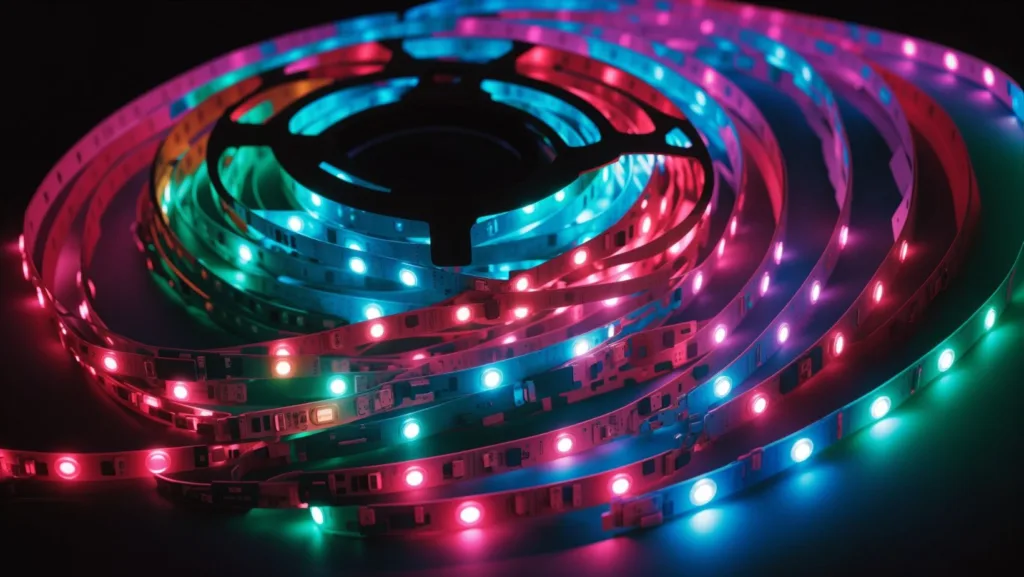
LED light strips, like any tech, can sometimes hit a few bumps in the road. So you might be wandering What are some common issues with LED light strips, Let’s See:
1. Incorrect Color Output:
Ever had your LED strip throw out colors that make you scratch your head? Manufacturers use different materials, so it’s normal to see some variety.
2. Power Play:
If your LED strip refuses to light up, don’t fret! It might just need a little attention. Check for loose connections or see if the power supply needs some love.
3. Flickering Lights:
Flickering lights? It happens! This can be caused by using dimmer switches that aren’t quite compatible or if there are some voltage changes going on.
4. Buzzing or Humming Noises:
Buzzing or humming noises? Not the concert you had in mind, right? It could be due to a grounding issue or perhaps your dimmer switch isn’t quite the right match.
5. Light Balancing Act:
Hey, if you notice some parts of your LED strip are brighter than others, it might be due to a little thing called voltage drop or perhaps a damaged LED.
6. Water Woes:
Water and LEDs? Not a good combo! Exposure to moisture can lead to some serious performance issues. So, let’s keep them dry!
7. Handle with Care:
Oops, a little mishap? Bending, twisting, or crushing the LED strip can lead to some broken connections or damaged LEDs. Gently does it!
8. Sticking Together:
Over time, the adhesive backing of your LED strip might lose a bit of its stickiness. If it starts peeling off, it might need a little help staying in place.
Keep an eye out for these things, and you’ll be enjoying your LED light strips without a hitch! And remember, if anything does pop up, don’t worry, you’ve got this!
How to Fix led light strip connector?

If the connector on your LED light strip is broken, you can try to repair it by following these steps:
Step 1: Identify the Connector Type
Begin by identifying the type of connector on your LED light strip. These can vary, ranging from 2-pin to 5-pin connectors. Knowing the exact type is crucial for a successful repair.
Step 2: Removing the Damaged Connector
Using a pair of scissors or a blade, carefully cut away the damaged connector from the LED light strip. Take your time to make sure the cut is clean.
Step 3: Stripping the Wires
With a wire stripper, remove about 1/4 inch of insulation from the ends of the wires. This exposes the bare wires, preparing them for the connection.
Step 4: Preparing the New Connector
Now, take a new connector that matches the type of the old one. Insert the stripped wires into the corresponding slots in the connector. Make sure they fit snugly.
Step 5: Securing the Connection
Using a pair of pliers, apply gentle pressure to crimp down on the metal tabs of the connector. This secures the wires in place, ensuring a stable connection.
Step 6: Testing the Repair
Plug in your LED light strip and switch it on. This step is vital to confirm if the repair was successful. If all is well, you should see your light strip shining brightly once again.
This Step-by-step method will teach you How to Fix led light strip connector. Remember, patience and precision are key during this process. Taking your time and double-checking each step will lead to a more effective repair.
How to Fix Ripped LED strip lights without Soldering?
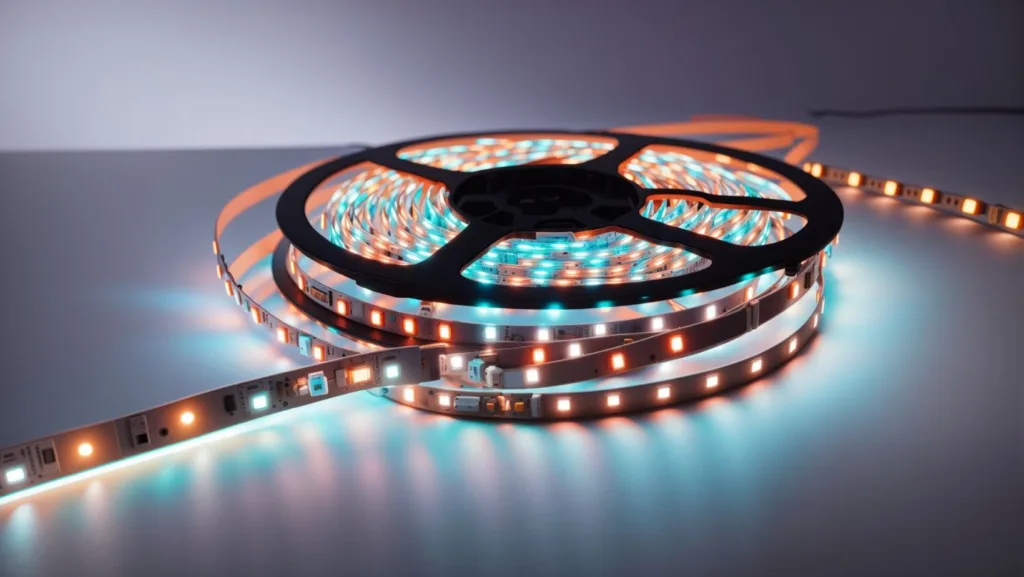
If your LED light strip is ripped, you can try to repair it without soldering by following these steps:
Step 1: Identify the Damage
Hey there! So, first things first – let’s find that little tear on your LED strip. Don’t worry, we’ll fix it up in no time!
Step 2: Trim the Torn Section
Grab a pair of scissors, and let’s trim away the damaged part. Leave a bit of space on both sides of the tear, so we have room to work our magic.
Step 3: Apply LED Strip Light Tape
Now, here comes the fun part! Take that LED strip light tape and cover both sides of the tear. Make sure they’re snug together. If there’s any gap, no worries, just use a bit of electrical tape to hold the ends tight.
Step 4: Firmly Secure the Tape
To make sure our tape job stays put, let’s bring in some electrical tape. Wrap it around the rip, nice and snug. This will keep out any sneaky water or dirt. But remember, don’t go overboard – too much tape can lead to a short circuit!
Step 5: Test Your Repaired LED Strip
Alright, moment of truth! Plug in your LED strip and let’s see how it shines. If all looks good, you’ve just pulled off a fantastic repair job! Good on you!
Conclusion:

How To Fix Broken LED Light Strips? To fix an LED light strip, ensure the power supply is secure, check the connection, check for a blown fuse, and identify the problem area. Gently remove the lights from the problematic section, trim the damaged territory, and add a fresh section from a spare or new roll of the same LED strip. Connect pin connectors to ensure a solid electrical connection for a harmonious light display.
FAQ: How To Fix Broken LED Light Strips
1. How do I know if my LED light strip is broken?
There are a few signs that your LED light strip may be broken:
The entire strip doesn’t light up at all.
Only a section of the strip lights up.
Some of the LEDs on the strip are flickering or dim.
The strip is damaged or cut.
2. What are the most common causes of broken LED light strips?
LED light strips can be damaged by a variety of factors, including:
Physical damage, such as being stepped on or crushed.
Water damage.
Overvoltage.
Manufacturing defects.
3. Can I fix a broken LED light strip myself?
Yes, it is possible to fix a broken LED light strip yourself, but it will depend on the nature of the damage. If the strip is simply cut or damaged, you can usually repair it using solderless connectors. However, if the damage is more serious, such as a faulty LED or a broken circuit, you may need to replace the entire strip or section of strip.
4. How do I fix a broken LED light strip with solderless connectors?
To fix a broken LED light strip with solderless connectors, you will need:
Solderless connectors
Wire strippers
Scissors
Instructions:
Unplug the LED light strip from the power source.
Cut the damaged section of the strip out, leaving a small amount of copper exposed at each end.
Strip the insulation off the ends of the copper wires.
Insert the exposed copper wires into the solderless connectors.
Crimp the connectors down tightly.
Connect the two sections of the LED light strip together using the solderless connectors.
Plug the LED light strip back into the power source and test it.
5. How do I replace a section of a broken LED light strip?
To replace a section of a broken LED light strip, you will need:
A new section of LED light strip (the same type and length as the damaged section)
Solderless connectors
Wire strippers
Scissors
Instructions:
Take the LED light strip out of the outlet.
Cut the damaged section of the strip out.
Strip the insulation off the ends of the copper wires on both the old and new sections of the strip.
Insert the exposed copper wires into the solderless connectors.
Crimp the connectors down tightly.
Connect the old and new sections of the LED light strip together using the solderless connectors.
Re-plug the LED light strip into the power supply, then give it a test.
6. How do I prevent my LED light strips from breaking?
There are a few things you can do to prevent your LED light strips from breaking:
Be careful not to step on or crush the strips.
Avoid exposing the strips to water or moisture.
Make sure the strips are properly installed and secured.
Use a surge protector to protect the strips from overvoltage.






2 thoughts on “How to Fix a Broken LED Light Strip|8 Easy Steps (2023)”