Are you ready to transform your space into a cozy, inviting haven? Well, you’re in for a treat! Day better LED lights are here to add that perfect touch of ambiance. They’re not just versatile, but also super energy-efficient. In this guide, we’re going to take you through the process of setting up Day better LED lights so you can bask in their warm glow in no time!
What is the maximum length of Day better LED lights?
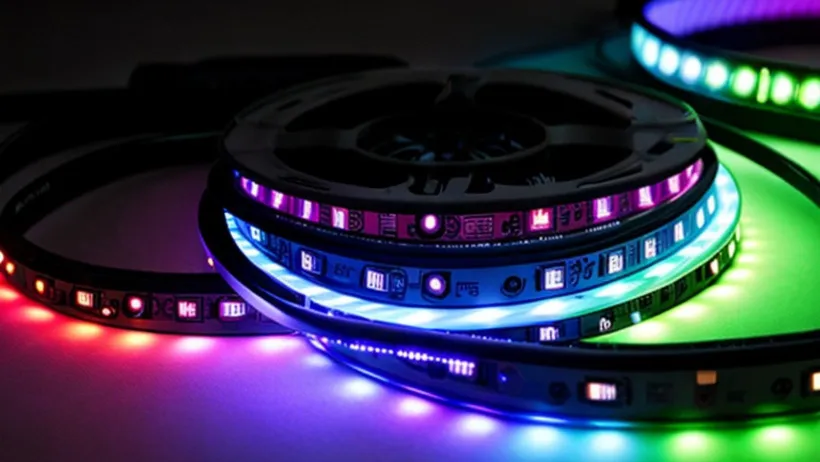
So, when it comes to Daybetter LED lights, the maximum length really depends on the model you have. According to the official Daybetter website, they offer LED strip lights in all sorts of lengths, and they even go up to a whopping 100 feet! That’s pretty impressive, right?
Just a quick heads up though – usually, LED strip lights are available in 3ft increments, all the way up to a full reel of 16.4ft.
How to set up Day Better LED Lights Step-by-Step Guide

Ready to add some pizzazz to your space with Day better LED lights? Here’s a Step-by step Guide to get you started:
1. Unbox and Verify Components:
Time to unveil the magic! Open up your Daybetter LED light kit and double-check that you’ve got everything you need – LED strip, power supply, and remote control.
2. Prepare the Installation Surface:
Let’s get things squeaky clean! Give the surface where you’ll be sticking the LED lights a good wipe-down. This ensures that the adhesive sticks like a champ.
3. Measure and Customize:
Bust out the tape measure! Figure out how much LED strip you’ll need to cover your chosen area. If it’s a tad too long, no worries – you can trim it down using the designated marks.
4. Peel and Expose Adhesive:
Time to strip down – your LED lights, that is! Gently peel off the adhesive backing from the LED strip, revealing the sticky side that’s raring to go.
5. Apply and Secure:
Now for the grand reveal! Press down on the adhesive side of the LED strip and watch it work its magic. Make sure to give it an even press along the entire length for a secure fit.
6. Connect the Power Supply:
Let’s power up this party! Follow the manufacturer’s guide to connect the power supply to the LED strip. This ensures a steady and safe flow of energy.
7. Test and Personalize:
It’s showtime! Flip the switch and grab that remote control. Test out your Day better LED lights and start playing with the settings. Adjust colors, brightness, and modes to create the perfect vibe.
And voilà! Your space is now bathed in the colorful glow of Daybetter LED lights. Enjoy the fantastic atmosphere you’ve crafted
Video : How to install Day better LED Strip Lights
What are the different modes in Day better LED lights?

If you’re looking to set the perfect vibe, Daybetter LED lights have got you covered with a variety of modes designed to suit all your lighting needs. Let’s dive into the options:
1. Static Color: Choose Your Hue
In this mode, you’re the artist. Pick from a wide array of colors to craft the perfect atmosphere that suits your mood and space.
2. Fade: Smooth Transitions
Watch as your LED lights smoothly glide between colors. And guess what? You can set the speed to match your vibe, making every transition uniquely yours.
3. Flash: Energize Your Space
Need some excitement? Activate flash mode and let the LED lights dazzle with a high-frequency on-and-off dance. It’s like a party in your room!
4. Strobe: Pulse to Your Beat
If you prefer a slower, more deliberate flashing effect, strobe mode has your back. It’s perfect for adding a touch of drama to any setting.
5. Smooth: Gentle Transitions for a Soothing Ambiance
Picture this: your LED lights transitioning between colors with the grace of a ballet dancer. The result? A serene, calming environment that soothes the soul.
6. Music Sync: Dance to the Beat
Got a musical rhythm in your soul? If your Daybetter LED lights have music sync functionality, you’re in for a treat. Watch as the lights pulse and sway in harmony with your tunes, transforming your space into a personal dance floor.
So there you have it – a whole spectrum of lighting modes to match any mood or occasion.
How do I adjust the brightness of Day better LED lights?
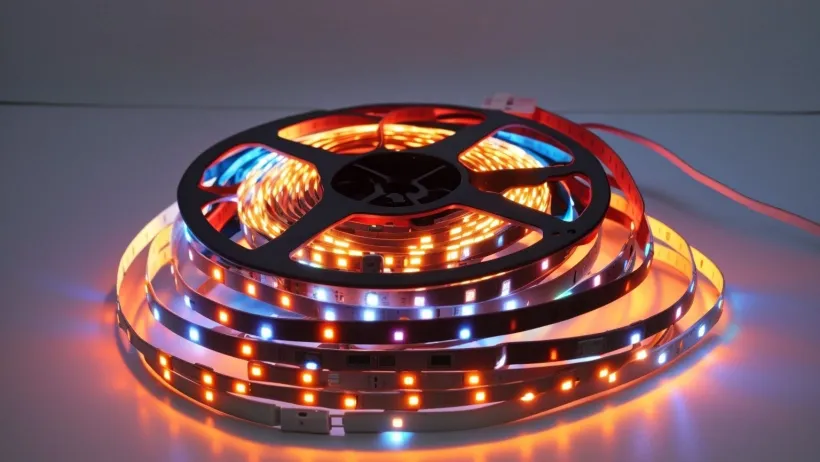
To adjust the brightness of your Day better LED lights, you can use the remote control that comes with the kit. Here are the steps:
Step 1: Turn on the lights:
Make sure that your LED lights are turned on.
Step 2: Press the “Brightness” button:
Locate the “Brightness” button on your remote control. It should be labeled with a sun icon.
Step 3: Adjust the brightness:
Press the “Brightness” button repeatedly to increase or decrease the brightness of your LED lights. You can adjust the brightness level anywhere from 0-100% .
Alternatively, you can use the “Max/Min” button on your remote to quickly set the lights to their maximum or minimum brightness level.
How do I change the color of Day better LED lights?

Ready to give your space a splash of color? With Day better LED lights and their trusty remote control, it’s a piece of cake. Check out these simple steps:
1. Turn on the Lights:
Let’s get the party started! Make sure your LED lights are all fired up and ready to dazzle.
2. Pick Your Color:
Grab that remote control and seek out the “Color” button. You’ll spot it by its artsy palette icon.
3. Dive into the Rainbow:
Time to play with colors! Hit that “Color” button and watch the magic unfold. Cycle through a smorgasbord of hues until you find the one that perfectly matches your mood.
4. Adjust the Ambiance:
Feeling particular about the vibe? No worries! Reach for the “Brightness” buttons on your remote. Crank it up with “Brightness Up” or dial it down a tad with “Brightness Down”.
And there you have it! Changing colors with your Day better LED lights is a breeze. Dive in, get creative, and find the perfect hue for every moment!
Can I cut the LED strip to a shorter length?

Yes, you can cut the Day better LED strip lights to a shorter length. Ready to customize your Day better LED strip lights? Follow the Steps given Below:
1. Confirm Cut-Compatibility:
First things first, let’s double-check if your Day better LED Strip Lights are designed to be cut. Take a peek at the specifications to ensure they can be snipped and used individually.
2. Measure and Mark:
Get out the trusty tape measure! Determine the size you need and mark the exact spot where you’ll be making the cut on the LED strip.
3. Spot the Cutting Marks:
No need to play detective here. The LED strip comes with handy cutting marks that show you precisely where it’s safe to make the cut.
4. Cut with Precision:
Equip yourself with a sharp pair of scissors. Now, cut along the designated marks with care. Be sure to cut right at the mark to avoid any mishaps with the circuit or the entire strip.
5. Reconnect if Needed:
Now that you’ve divided the LED strip, it’s time to bring them back together if necessary. You can achieve this by using connectors, cables, or through soldering. This way, they’ll continue to function just as they were intended to.
There you have it! Trimming your Day better LED strip lights is a breeze with these easy-to-follow steps
How to set up day better led lights without remote

If you want to set up your Day better LED lights without using a remote, we’ve got you covered. Just follow these simple steps:
1. Download the App:
Let’s kick things off! Head over to your device’s app store and look for the “Day better” app. Once you spot it, hit that download button and let the magic happen.
2. Connect to the Lights:
Power up your LED lights and make sure they’re within Bluetooth range of your device. Now, open up the Day better app. It’ll guide you through the process of connecting your device to the lights.
3. Take Control:
With the connection all set, the reins are in your hands! Use the app to take charge of your LED lights. You can tweak colors, play with brightness, and switch up modes. The app is designed to be super user-friendly, so customization is a breeze.
And there you have it! Setting up your Day better LED lights without a remote is a breeze with the Smart App. Give it a go and let the fun begin!
Read More: Daybetter LED lights not working | An Ultimate Guide
Conclusion
To set up Day better LED lights, follow these steps: unbox and verify components, prepare the installation surface, measure and customize the LED strip, peel and expose adhesive, apply and secure the LED strip, connect the power supply, and test and personalize the lights. The LED strips can be customized with colors, brightness, and modes to create the perfect atmosphere.
FAQ
What do I need to set up Day better LED lights?
TO set up Day better LED lights, you will require the following:
*Day better LED light strip
*Power adapter
*Controller (if applicable)
*Remote control (if applicable)
*Mounting clips (optional)
How do I install Day better LED lights?
To install Day better LED lights, follow these steps:
*Ensure the surface is clean and dry where you intend to install the lights.
*Peel off the backing from the LED light strip.
*Press the LED light strip onto the surface, ensuring the adhesive side is securely attached.
*If needed, cut the LED light strip to the desired size.
*Connect the LED light strip to the power adapter and controller (if applicable).
*Plug the power adapter into an outlet.
*Utilize the remote control to power on the lights and select your preferred settings.
How do I connect my Day better LED lights to my phone?
TO connect your Day better LED lights to your phone, you will need the Day better Smart app.
Download the app from the App Store or Google Play. Then, follow these steps:
*Open the Daybetter Smart app and create an account.
*Tap the “+” button in the top right corner of the app.
*Select “Add Device” and then choose “LED Strip Light”.
*Follow the in-app instructions to connect your lights.
How do I troubleshoot Day better LED lights?
If you encounter issues with your Daybetter LED lights, try the following steps:
*Ensure the power adapter is plugged in and turned on.
*Confirm the LED light strip is properly connected to the power adapter and controller (if applicable).
*Attempt to restart the controller.
*Consider resetting the LED light strip.
*If using a remote control, verify it is paired with the controller.
What are some tips for setting up Day better LED lights?
Here are some helpful tips for setting up Day better LED lights:
*Ensure the installation surface is clean and dry.
*On textured surfaces, use mounting clips to secure the lights.
*When cutting the LED light strip, do so at marked cut points.
*Avoid overbending the LED light strip to prevent damage.
*If connecting multiple LED light strips, ensure the arrows on the connectors point in the same direction.
What are some creative ways to use Day better LED lights?
Day better LED lights offer various creative possibilities. Consider these ideas:
*Backlight your TV or computer monitor. Create ambient lighting in your bedroom or living room.
*Illuminate cabinets in your kitchen or bathroom.
*Decorate your backyard or patio.
*Craft custom signs or displays.

