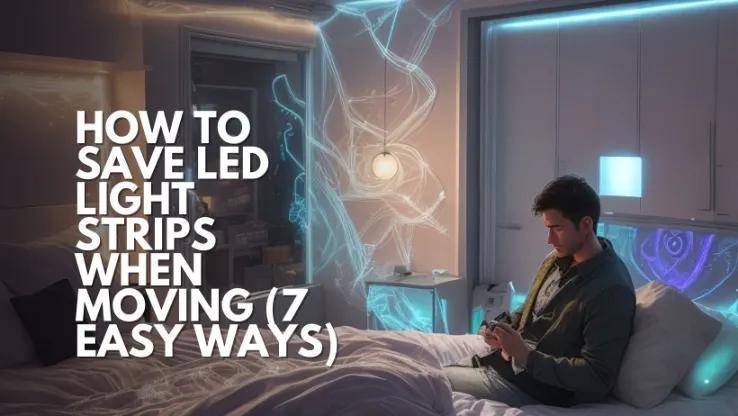
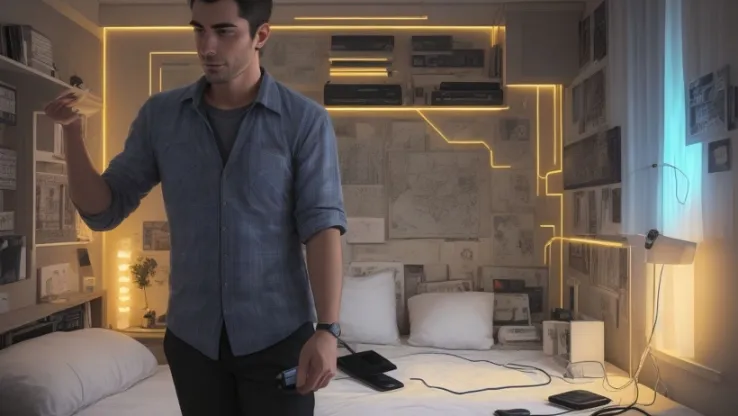
Moving can be a daunting task, and when it comes to delicate electronics like LED light strips, proper handling is crucial to ensure they reach your new location intact and functional. This article will guide you on how to save LED light strips when moving, ensuring they’re ready to illuminate your new space.
How to save LED light strips when moving
Moving your LED light strips? No worries, we’ve got you covered. Just follow these simple steps:
Materials You’ll Need
To ensure the safety of your LED light strips during the move, gather the following materials:
Bubble Wrap: This will provide a protective cushioning for the delicate components.
Packing Paper: Ideal for wrapping and securing the strips in place.
Cardboard Tubes: These can be used to secure the rolled-up strips.
Packing Tape: To seal the packaging securely.
Step-by-step Guide How to save LED Light strips when moving
- Start by unplugging and disconnecting the LED light strips from the power source, controllers, or any other accessories they’re hooked up to.
- If you can, take off any sticky bits or mounting equipment keeping the strips in place.
- Gently give your strip lights a little wipe-down with a soft, dry cloth to get rid of any dust or bits.
- Be careful not to bend, twist, or fold the LED strip lights, as this could harm the internal bits and pieces.
- Grab a nice, flat surface like a piece of cardboard, foam board, or plastic sheet that’s bigger than your strips.
- Gently wind the LED strip lights around the flat surface, starting at one end and working your way to the other. Make sure they stay flat and don’t overlap.
- Use tape, cable ties, or those handy reusable hook and loop fasteners to secure the strip lights to the surface. Just be gentle to avoid any damage.
- Once your strip lights are all wrapped up and secure, give them an extra layer of protection with bubble wrap or packing foam.
- Pop those wrapped LED strip lights into a sturdy box along with any controllers, power supplies, or accessories.
- Fill in any empty spaces in the box with some packing material to stop any jiggling around during the move.
- Label the box clearly so everyone knows what’s inside and if there’s any special handling needed.
Following these steps will make sure your LED light strips stay safe and sound during the move, and setting them up in your new place will be a breeze.
Read More: How to Fix a Broken LED Light Strip|8 Easy Steps
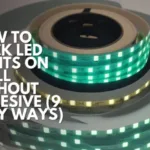
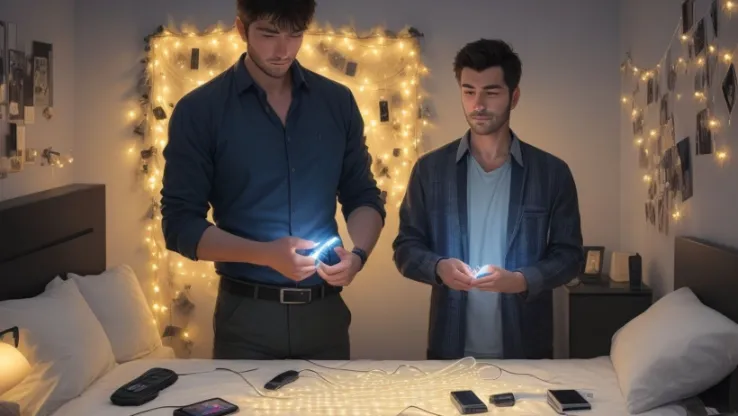
Wrapping the LED Light Strips (7 Easy Ways)
The Bubble Wrap Hug: Keeping LED Strips Safe
When it comes to safeguarding your LED light strips, the bubble wrap method can be your best friend. Gently wrap them up, making sure every inch gets a snug fit. Pay extra attention to the ends and any delicate connectors. Seal the deal with a bit of tape to keep everything in place.
The Cardboard Tube Trick: A Cozy Spot for Your LED Strips
Here’s a nifty trick for longer LED strips: wrap them around a cardboard tube. It’s like giving them a cozy little bed. The tube adds some extra support and keeps them from getting bent out of shape.
Box It Up: Making Sure Your LED Strips Travel in Style
Choosing the right box is key. It should be sturdy and just the right size for your LED light strips. Pop them in snugly, leaving no room for wiggling around. If there are any gaps, fill them up with extra packing paper or bubble wrap.
Labels: Your Ticket to Easy LED Strip Identification
Make sure to give the box a little love with some labels. ‘Fragile’ and ‘LED Light Strips’ should do the trick. This ensures that everyone knows to handle it with care. Plus, it’ll be a breeze to find when it’s time to unpack. Don’t forget to mark which end is up to avoid any oopsies.
Riding in Style: Where to Put Your LED Strip Box
Find a comfy spot in the moving truck where the box won’t get squished or bumped around. Keep it away from any heavy furniture or things that might accidentally give it a bump.
Unwrapping the Magic: Getting Your LED Strips Set Up Again
Once you’ve reached your new digs, it’s time to let those LED light strips out of their box. Gently unwrap them and get them back where they belong. Take your time to make sure they’re all set up and connected just right.
Give Them a Once-Over: Checking Your LED Strips for Any Boo-Boos
Before you call it a day, give your LED light strips a little once-over. Look for any bent connectors, cracks, or loose bits. If you spot anything, don’t wait—fix it up right away to prevent any further issues.
Read More: How to Pair LED Light Remote in 5 Easy Steps
Additional Tips for LED Strip Safety
Avoid Extreme Temperatures:
Just a little heads-up about your LED light strips – they’re not big fans of extreme temperatures. They like it cozy, so try to keep them away from scorching heat or freezing cold to keep them shining bright and happy!
Keep Away from Moisture:
Alright, let’s talk about moisture. It’s like kryptonite for LED electronics. They don’t get along at all! So, make sure to place your LED strips in spots where they won’t have to deal with any water mischief. That way, they’ll stay in tip-top shape and keep lighting up your world.
Handle with Care:
Handle your LED light strips with a gentle touch, like you would with something really delicate. This little bit of TLC goes a long way in preventing any potential damage to their delicate parts. It’ll keep them beaming brilliantly for a long time!
Can you reuse LED lights after taking them off
Yes, you can often reuse LED lights after taking them off, as long as you handle them carefully during removal.
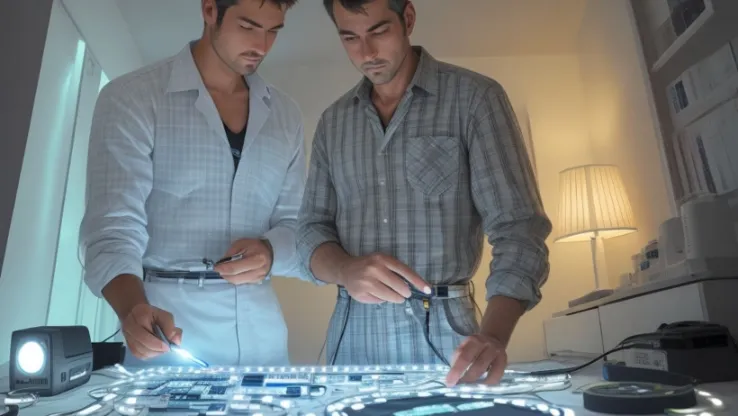
How to restick LED Light strips? (5 EASY STEPS)

To re- install LED light strips, you can follow these steps:
Step 1: Measure and Mark the Installation Location
Alrighty, let’s kick things off! Find that sweet spot for your LED light strips. Grab a trusty tape measure and make sure they’ll fit just right. Take your time with this – getting the placement spot-on can really set the mood!
Step 2: Ensure the installation surface is clean and dry.
Time to prep the stage! Before you stick on those LED strips, make sure the area is squeaky clean. A quick wipe-down with a clean microfiber cloth and some warm, soapy water does the trick. This ensures a solid bond and keeps any dust or grime from getting in the way of the adhesive.
Step 3: Connect Strip Lights Using a Strip Connector
Now, let’s link up those LED strips. Follow the nifty instructions your manufacturer provided for connecting them using a strip connector. This part might vary depending on the brand, so make sure to check out the manual for the nitty-gritty details.
Step 4: Apply the LED Strip Light
With your surface prepped and the strips connected, it’s time to get sticking. Peel off that protective backing from the LED strip and gently press it onto the surface. Be sure to give it an even press along the whole length to make sure it’s snug as a bug.
Step 5: Test the LED Strip Lights
Before you wrap it up, let’s do a quick check-in. Plug in those lights and grab the control box, if you’ve got one. Give them a manual test run. This way, you can catch any hiccups early on and make any tweaks if needed.
Conclusion:
To move LED light strips safely, disconnect them from power sources, remove any sticky bits, wipe them down gently, and secure them to a flat surface. Wind the strips around the surface, using tape, cable ties, or hook and loop fasteners to avoid damage. Wrap them in bubble wrap or packing foam, and place them in a sturdy box with controllers, power supplies, and accessories. Label the box clearly to ensure everyone knows what’s inside and if special handling is needed.
By following these detailed steps, you can be confident of How to save LED Light strips when moving . With proper preparation and packing, you can enjoy the ambiance of your LED light strips in your new space without any worries.
FAQ: How to save LED Light strips when moving
1. How do I remove LED light strips from the wall?
Removing LED light strips from the wall is easy with a little patience and a hair dryer. Here’s how:
*Unplug the light strips.
*Set your hair dryer to low heat.
*Gently warm the adhesive by moving the dryer back and forth.
*Once heated, slowly peel the strip from the wall.
*Be gentle to avoid damage.
2. How do I clean LED light strips?
After taking them down, it’s important to clean your LED light strips. Here’s how:
*Wipe them with a damp cloth to remove dirt or dust.
*For any sticky residue, use a mild soap and water solution.
*Dry them thoroughly with a clean towel.
3. How do I pack LED light strips for moving?
To ensure they’re safe during transit, follow these steps:
*Line the box with packing peanuts or bubble wrap.
*Place the light strips in without them touching.
*Fill any gaps with more packing material.
*Seal the box with tape.
4. How do I transport LED light strips?
Being cautious during transportation is key. Here’s what to keep in mind:
*Ensure the box is secure and not near heavy items.
*Consider using a moving blanket for added protection on longer journeys.
5. How do I install LED light strips in my new home?
Setting up your LED light strips in your new place is a breeze. Just follow these tips:
*Clean and dry the surface before applying.
*On textured surfaces, you might need extra adhesive.
*Don’t overtighten screws when mounting.
6. Can I reuse LED light strips after moving?
Here are some tips for reusing LED light strips:
*Clean the wall surface thoroughly before reapplying.
*If you’re worried about adhesive, consider using new tape or mounting clips for extra support.