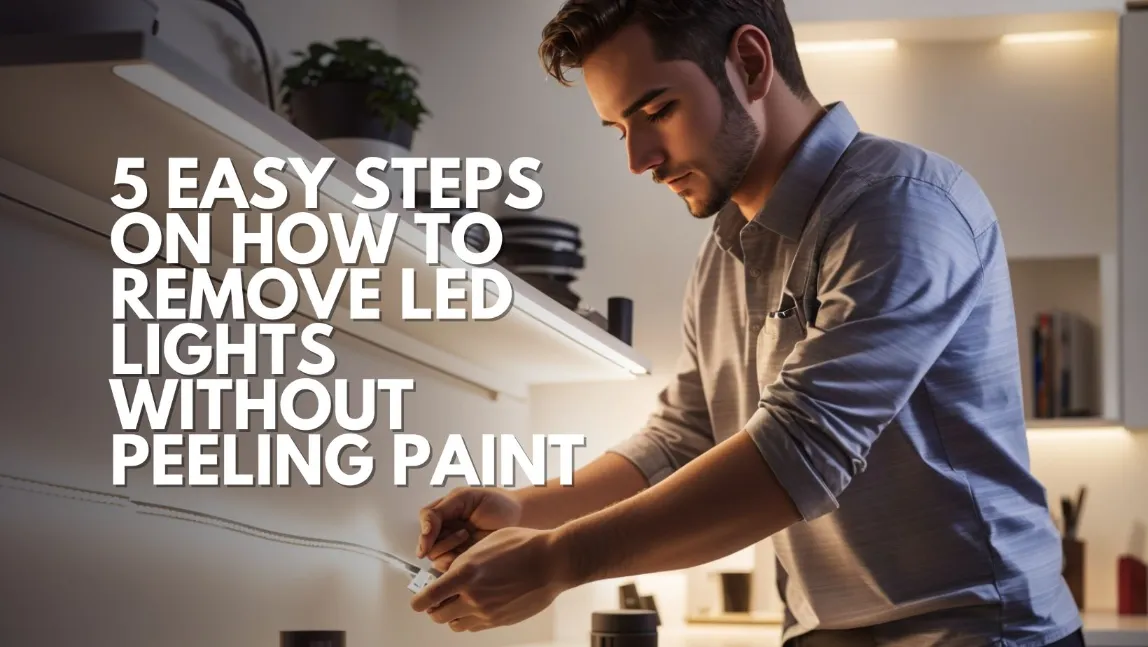
So, you decided to revamp your living space, and those LED lights that used to be the life of the party just don’t fit in anymore. You may wonder How to remove LED lights without peeling paint!
Hey there, DIY enthusiasts and home improvement enthusiasts! If you’ve ever had the joy (or perhaps the agony) of putting LED lights in your house, you know how they can transform any area. But what happens when it’s time for a change or you need to relocate those fantastic LED strips? Removing them without wrecking your paint job can be a bit tricky, but fear not! I’m here to shed some light on this illuminating topic.
How to remove LED lights without peeling paint – 5 Step Easy Guide

1. Turn Off the Lights
Before you go on a peeling rampage, make sure your LED lights are turned off and unplugged. It’s a small step, but it could save you from some shocking surprises. Safety first!
2. Pry Slowly
Grab a plastic pry tool, a putty knife, or even a plastic card (a credit card you won’t be using anytime soon, perhaps?). Gently slide it between the LED strip and the wall, starting at one end. Avoid using metal tools as they can scratch the wall or damage the LED strip.
3. Applying Heat
A little heat can work wonders in softening the adhesive behind the LED strip. You can use a hairdryer on low heat, moving it back and forth along the strip. Be patient and keep the heat moving; you don’t want to scorch your paint.
4. Peel Carefully
As you apply heat, gently peel the LED strip away from the wall. Use slow and steady pressure to avoid damaging the paint. If you feel resistance, stop and heat that area a bit more.
5. Remove Residue
Once you’ve successfully removed the LED lights, you might find some sticky residue left behind. Wipe it away with a damp cloth or a sponge soaked in warm, soapy water. A little rubbing alcohol will also work.
Now, I hope this 5 step guide on How to remove LED lights without peeling paint have helped you successfully remove you LED lights without damaging the paint.
Learn More: 5 Easy Steps of how to make hot pink on led lights
Learn More: 8 Effective Ways how to take LED lights off without ripping paint
How to Remove LED Ceiling Lights: A Step-by-Step Guide

LED ceiling lights are a great addition to any home. They’re energy-efficient, long-lasting, and can add a touch of modernity to your living space. However, there may come a time when you need to replace or remove them for maintenance or design purposes. Fear not, for in this guide, I will walk you through the process of How to Remove LED Ceiling Lights like a pro.
Tools and Materials You’ll Need
- Ladder or step stool
- Screwdriver (Phillips or flathead)
- Wire nuts or connectors
- Wire stripper or cutter
- Electrical tape
Step 1: Turn Off the Power
Safety is paramount here. Go to your circuit breaker or fuse box and turn off the power to the room where the LED ceiling light is located. If you’re not sure which breaker controls the lights, it’s best to turn off the main power switch.
Step 2: Prepare Your Work Area
Place a ladder or step stool beneath the LED ceiling light, ensuring it’s stable and secure. You don’t want any wobbles while you’re working up there.
Step 3: Remove the Cover or Trim
Most LED ceiling lights have a cover or trim that conceals the electrical components. Gently remove this cover by unscrewing any screws or clips holding it in place. Be careful not to force it; it should come off easily.
Pro Tip: If you can’t locate the screws or clips, try gently twisting the cover counterclockwise. Some designs require this motion for removal.
Step 4: Disconnect the Wires
Once you’ve exposed the electrical wiring, you’ll need to disconnect the wires that connect the LED light to the power source. Typically, you’ll find three wires: black (hot), white (neutral), and green or bare (ground).
a. Black Wire: This is the hot wire. Loosen the screw or nut that secures it in place and carefully pull it out.
b. White Wire: This is the neutral wire. Repeat the same process as with the black wire.
c. Green or Bare Wire: This is the ground wire. Disconnect it following the same steps as the other two wires.
Step 5: Remove the Mounting Bracket
The LED ceiling light is usually attached to a mounting bracket that holds it in place. Use your screwdriver to remove any screws or bolts securing the bracket to the ceiling. Once the bracket is loose, you can remove the entire fixture.
Step 6: Cap the Wires
To ensure safety, cap the exposed wires with wire nuts or connectors. Simply twist the wire nuts onto each wire separately, securing them tightly. Then wrap a piece of electrical tape around each wire nut to provide extra protection.
Step 7: Patch and Paint (Optional)
If you plan to install a new light fixture in the same spot, this is a great time to patch up any holes or imperfections in the ceiling and give it a fresh coat of paint. It’s like a mini home improvement project within your project!
Step 8: Install Your New Fixture (If Applicable)
If you’re replacing the old LED ceiling light with a new one, follow the manufacturer’s instructions for installation. It typically involves attaching the new mounting bracket, connecting the wires, and securing the fixture in place.
Step 9: Restore Power
Once everything is back in order, go back to the circuit breaker or fuse box and turn the power back on. Test your new LED ceiling light to ensure it’s working correctly.
There you have it, following the above 9 steps you may have got an clear idea of How to Remove LED Ceiling Lights!
Remember, safety should always be your top priority, so if you have any doubts or concerns, seek professional help. Otherwise, with the right tools and a little DIY spirit, you can tackle this task like a seasoned expert. Happy lighting!
Can You Reuse LED Lights?
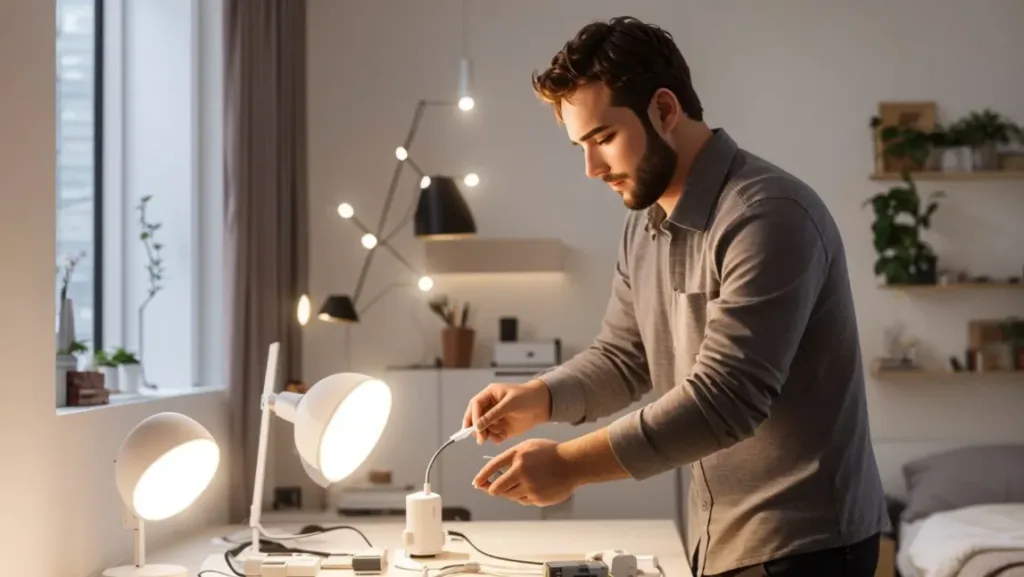
Now that you’ve safely detached your LED lights from the wall, you might be wondering Can You Reuse LED Lights. Well, the good news is that LED strips are typically designed to be reused! Here’s what you need to know:
1. Preserve the Adhesive Backing
Try to keep the adhesive backing as clean as possible when removing the LED lights. If it gets too dirty or damaged, you can use double-sided adhesive tape to reattach the strip when you’re ready to reuse it.
2. Store Them Properly
To ensure your LED lights stay in good shape for reuse, roll them up carefully and store them in a cool, dry place. Avoid any extreme temperatures or moisture, as this can damage the LED strips.
3. Check the Connectors
Before reinstalling your LED lights, inspect the connectors to ensure they are still in good condition. If they’re damaged or corroded, you may need to replace them.
4. Test Before Reinstalling
Always test your LED lights before reinstalling them to make sure they still work correctly. This will save you the frustration of finding out they don’t work after you’ve gone through the trouble of reinstallation.
What Causes LED Light Strips to Damage the Paint?
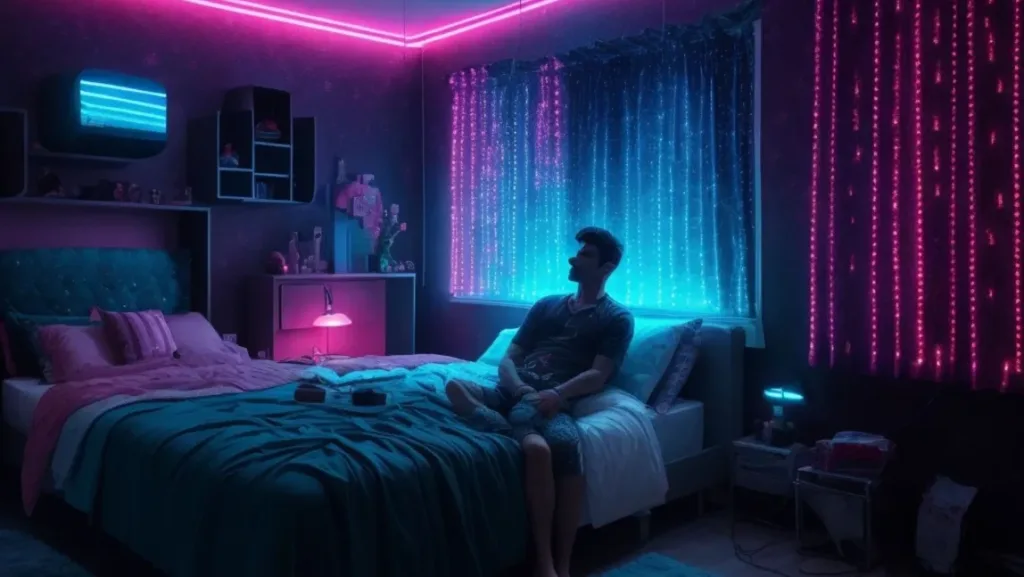
The Glaring Culprit: Heat
One of the primary reasons LED light strips can damage paint is the heat they generate. LEDs, like any other electronic devices, produce heat during operation. If the LED strips are placed too close to the painted surface, this heat can cause the paint to soften or bubble. Think of it as giving your wall a mini-sauna session; it might appreciate the spa day, but it won’t look its best afterward.
Experience Speaks: Test Before You Stick
Before you embark on a colorful lighting project that involves LED strips, it’s wise to conduct a little experiment. Place a small section of the LED strip on an inconspicuous part of your painted surface and let it run for a while. Monitor the area for any signs of heat damage, such as paint softening or discoloration. If you notice any adverse effects, you might need to reconsider your lighting placement or look for alternative solutions.
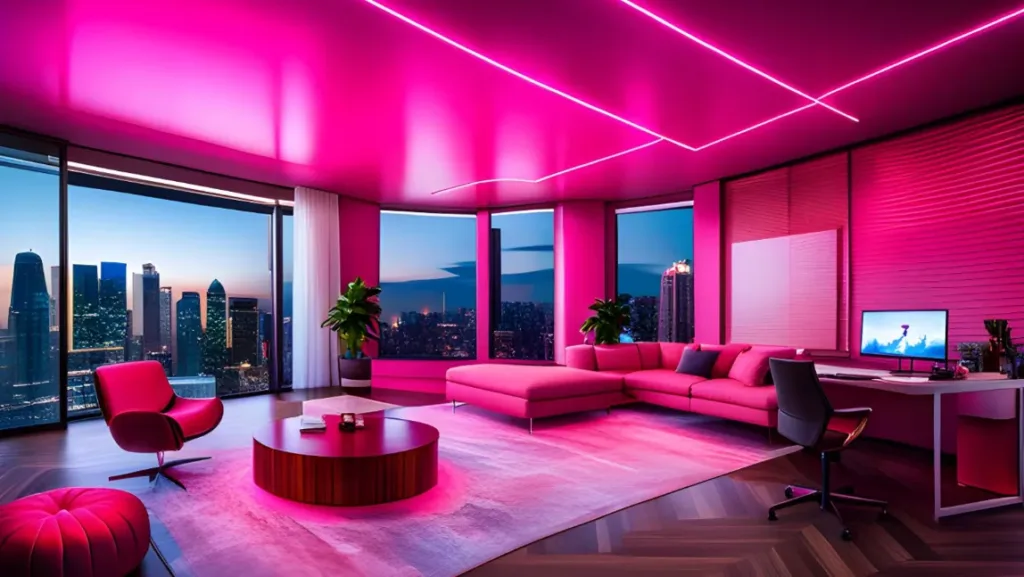
Expertise Factor: Proper Installation Matters
When it comes to preventing LED light strips from damaging your paint, installation is key. Ensure that you follow the manufacturer’s guidelines regarding placement and spacing. Many LED strip manufacturers recommend leaving a gap between the strip and the painted surface to allow for proper heat dissipation. This gap acts as a buffer zone, sparing your paint from the sauna treatment.
Additional Tips to Safeguard Your Paint
Paint Type Matters: The type of paint on your walls can affect how they respond to heat. High-gloss paints are more susceptible to damage than matte or flat finishes, so keep that in mind when planning your lighting setup.
Use Heat Shields: If you’re determined to place LED light strips close to your walls, consider using heat shields or diffusers. These accessories can help distribute the heat more evenly and reduce the risk of damage.
Regular Maintenance: Keep an eye on your LED light strips. If you notice any malfunctioning or excessively hot sections, address the issue promptly to prevent paint damage.
Conclusion
In conclusion, on how to remove LED lights without peeling paint can be a straightforward process if you follow these five easy steps. Prioritize safety by turning off and unplugging the lights before starting the removal process. Use plastic tools to gently pry the LED strip away from the wall, and apply a bit of heat to soften the adhesive without risking damage to your paint. Peel the strip carefully, paying attention to any areas of resistance, and once it’s off, remove any leftover residue using warm, soapy water or rubbing alcohol.
By following these steps, you can successfully take down your LED lights without leaving a trail of damaged paint behind.
FAQ – How to remove led lights without peeling paint!
What Causes LED Light Strips to Damage the Paint?
LED light strips can damage paint due to prolonged heat exposure and adhesive strength. Over time, the heat generated by LEDs may soften or blister paint. Strong adhesives can also peel off paint during removal.
Can I Reuse the LED Strip Light After Removing it?
Yes, LED strip lights can be reused after removal if handled with care. Ensure they are undamaged during the removal process.
How to remove LED strip lights without damaging paint?
Gently peel LED strips off at a low angle to avoid damaging the paint. Heat the adhesive with a hairdryer to soften it and make removal simpler. To remove any sticky residue, use an adhesive remover.
How to remove LED lights without leaving residue?
Remove LED lights without leaving residue by carefully peeling them off, applying gentle heat, and using adhesive removers to clean any residual stickiness.
How to remove LED lights without a heat gun?
You can remove LED lights without a heat gun by using a hairdryer to apply gentle heat. Alternatively, dental floss can help loosen the adhesive for easier removal. Finish by using an adhesive remover to clean the surface.


3 thoughts on “5 Easy Steps on how to remove led lights without peeling paint”